
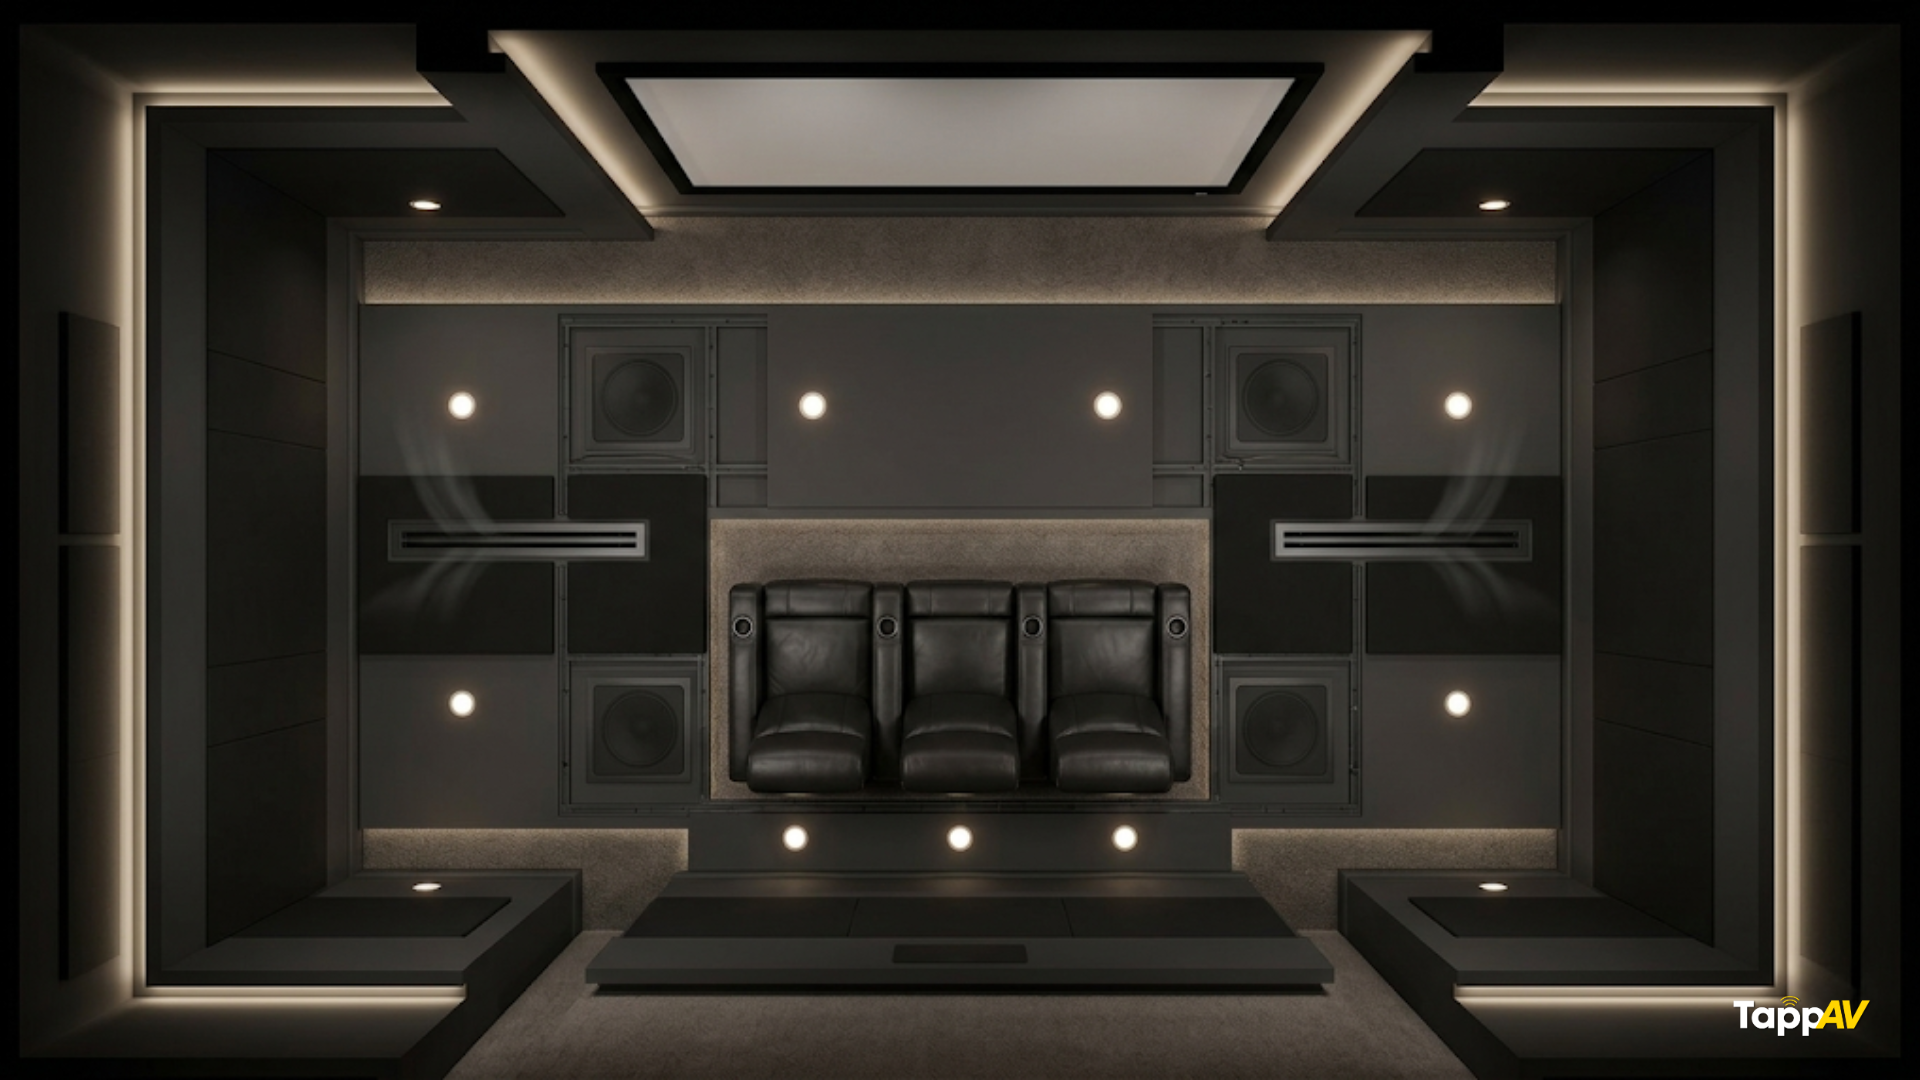
A home theater false ceiling isn't just about making the room look good.
It also has to accommodate Dolby Atmos speakers, projector wiring, lighting, AC, acoustic treatment and future upgrades.
And once the ceiling is closed, fixing a missed AV point can mean cutting into your brand-new ceiling.
So, before the gypsum board goes up, here's what you need to plan.
🎥 Before You Close the Ceiling, Watch This
Planning a home theater? Don't let the false ceiling go up before checking your AV points.
In this video, we cover the important false ceiling AV wiring and installation tips you should know before construction is complete.
Now let's get into the details.
1. Plan the AV Layout Before Designing the Ceiling
This is the most important rule:
AV layout first. False ceiling design second.
Before finalising the ceiling, decide:
- Screen and seating position
- Projector location
- Dolby Atmos configuration
- AV rack location
- Subwoofer positions
- Lighting zones
- AC vent positions
- Acoustic treatment
Why?
Because the ceiling should work around the AV layout, not the other way around.
At TappAV, this is why we recommend planning the AV layout in 2D before the ceiling is frozen. It allows speaker positions, projector placement, seating, wiring and lighting to be coordinated before execution.

2. Get Your Dolby Atmos Speaker & Wiring Points Right
Planning Dolby Atmos?
Don't place ceiling speakers simply where they look symmetrical.
Their position should be planned around the main listening position and overall speaker layout.
A 5.1.2 system uses two overhead speakers, while a 5.1.4 system uses four.
So, the sequence should be:
Seating → Speaker layout → Speaker positions → False ceiling design
Once the locations are final, run dedicated speaker cables from the AV rack to each speaker.
Don't forget the conduits.
Where practical, use conduits so cables can be replaced or upgraded later.
And label both ends:
Atmos Front Left → Atmos Front Left
It sounds unnecessary now.
You'll appreciate it when you're looking at a bunch of identical cables later.

3. Give the Projector Proper Wiring Infrastructure
The projector needs more than just a power point.
Depending on your setup, you may need:
- HDMI
- LAN/Ethernet
- Power
- Control/trigger cables
- Other service connections
The golden rule:
Don't permanently bury HDMI inside the ceiling.
Instead, provide a suitable conduit from the AV rack to the projector.
If possible, leave a pull string inside it.
Why?
Because today's HDMI requirements may not be tomorrow's.
A proper conduit makes future cable replacement much easier without opening the ceiling.
Also make sure the projector's power point is positioned correctly and doesn't interfere with mounting, ventilation or maintenance.

4. Plan the AV Rack & Subwoofer Locations
Your AV rack is the central hub of the theater.
It may house:
- AV receiver/processor
- Amplifiers
- Streaming devices
- Media players
- Gaming consoles
- Network equipment
Decide its location early and plan the cable pathways between the rack and the rest of the room.
And don't forget the subwoofer.
Subwoofer placement has a major impact on bass performance, so don't decide its location after the room is finished.
Plan the required signal and power provisions for your intended subwoofer locations.
If you may add a second subwoofer later, consider providing the necessary pathway now.
5. Design the Lighting for Movie Mode
A home Cinema ceiling may include downlights, cove lighting, LED strips, step lights or decorative lighting.
But ask yourself:
What happens when the movie starts?
Bright lights around the screen can create unwanted reflections and reduce the perceived contrast of the image.
Instead, divide lighting into zones.
Screen zone
Minimal direct light.
Seating zone
Soft, low-level illumination.
Entry/rear zone
Enough light to move around safely.
Decorative zone
For when you're not watching a movie.
Ideally, these should be controllable as scenes:
Welcome → Lights ON
Movie → Lights DIM
Pause → Low lights
A good cinema ceiling doesn't just look impressive.
It knows when to disappear.

6. Coordinate AC & Acoustics With the Ceiling
Your false ceiling may need to accommodate:
Atmos speakers + lights + AC vents + wiring + acoustic treatment
That's why these shouldn't be designed independently.
For example, an AC vent shouldn't end up fighting for space with an Atmos speaker. And a decorative ceiling feature shouldn't force you to move a carefully planned speaker.
Acoustics matter too.
The ceiling contributes to the room's acoustic behaviour.
Depending on the room, acoustic treatment may be required to control reflections and reverberation.
So consider acoustics before the ceiling is finalised—not after everything is installed.
The goal is simple:
Make the ceiling look good without compromising how the theater sounds.

7. Leave Spare Conduits for the Future
You don't need to predict every piece of AV equipment you'll buy five years from now.
You just need to make future changes easier.
Consider leaving spare conduits for:
- Additional Atmos speakers
- Future projector upgrades
- Additional network cables
- A second subwoofer
- Future control systems
And if possible, leave pull strings inside unused conduits.
Think of it as cheap insurance.
Installing an empty conduit during construction is far easier than opening a finished false ceiling later.
Before You Close the Ceiling: 10-Point Checklist
Before the gypsum board goes up, check:
- Screen & seating positions are final
- Atmos speaker positions are marked
- Speaker cables are installed & labelled
- Projector position is final
- HDMI conduit is provided
- Projector power is planned
- AV rack location is final
- Subwoofer locations are considered
- Lighting & AC are coordinated
- Spare conduits are provided
One final tip:
Take photographs before closing the ceiling.
Photograph every cable route, conduit, speaker location and junction point.
Save them with your home theater drawings.
Years later, you'll be very glad you know exactly what's hiding above that ceiling.
Final Thought
The best home theater false ceiling isn't necessarily the most elaborate one.
It's the one where AV, architecture, lighting, acoustics and HVAC work together.
So remember:
Plan the AV first.
Design the ceiling second.
Close the ceiling last.
And if you're building a home Cinema system, involve your AV consultant before the false ceiling design is frozen, not after it's installed.
Need Help Planning Your Home Theater?
TappAV helps homeowners plan the complete AV infrastructure from speaker positioning and projector wiring to acoustics, equipment rack and ceiling coordination.
Because the best time to solve an AV problem is before the ceiling goes up.
Share:
Sealed vs Ported Subwoofer: Which One Fits Your Home Theater?
From 5.1.2 to 7.2.4: Upgrading a Home Cinema Experience in Jamshedpur