Setting up an AVR (Audio Video Receiver) can seem overwhelming, but it doesn’t have to be. With a little guidance, you’ll have your home theater running like a pro in no time.
This guide skips the technical jargon and focuses on what’s important: creating an exceptional audio-visual
experience without the headache.
1. What is an AVR?
2. Why does AVR setup matter?
3. Step 1: Plan Your Setup.
4. Step 2: Master Your Connections.
5. Step 3: Optimize Your Video Settings.
6. Step 4: Fine-Tune for Everyday Use.
7. Step 5: Test the System.
8. Why Download Our Free AVR Setup eBook?
9. Final thoughts.

An AVR (Audio Video Receiver) is the brain of your home theater system. It connects your speakers, TV, gaming consoles, and more, delivering immersive sound and crystal-clear visuals.

Why Does AV Receiver Setup Matter?
Proper setup ensures:
Don’t settle for “good enough.” Let’s make your setup incredible!
Step 1: Plan Your Setup
Choose the Right Space
Your AV Receiver needs a good home too! Pick a spot with proper ventilation and easy access for cables. Avoid cramped, enclosed spaces to keep the device from overheating

Think About Speaker Placement
Before diving into connections, decide where each speaker will go. A general guideline:
Step 2: Master Your Connections
Label Your Cables
One of the simplest ways to keep things organized is to label your HDMI, speaker wires, and power cables. A little effort now will save you from cable chaos later.

Check Device Compatibility
Ensure your AVR and connected devices (TV, projector, gaming console) support the same standards, like 4K HDR or Dolby Vision. Compatibility prevents frustrating connection errors.
Step 3: Optimize Your Video Settings
Use the Right HDMI Ports
Not all HDMI ports are created equal. Check your AVR’s manual to identify the best port for high-bandwidth devices like 4K Blu-ray players or gaming consoles.

Enable Advanced Features
For displays that support advanced settings like HDR10+, eARC, or Variable Refresh Rate (VRR), enable these features in both the AVR and the display’s menu.
Step 4: Fine-Tune for Everyday Use
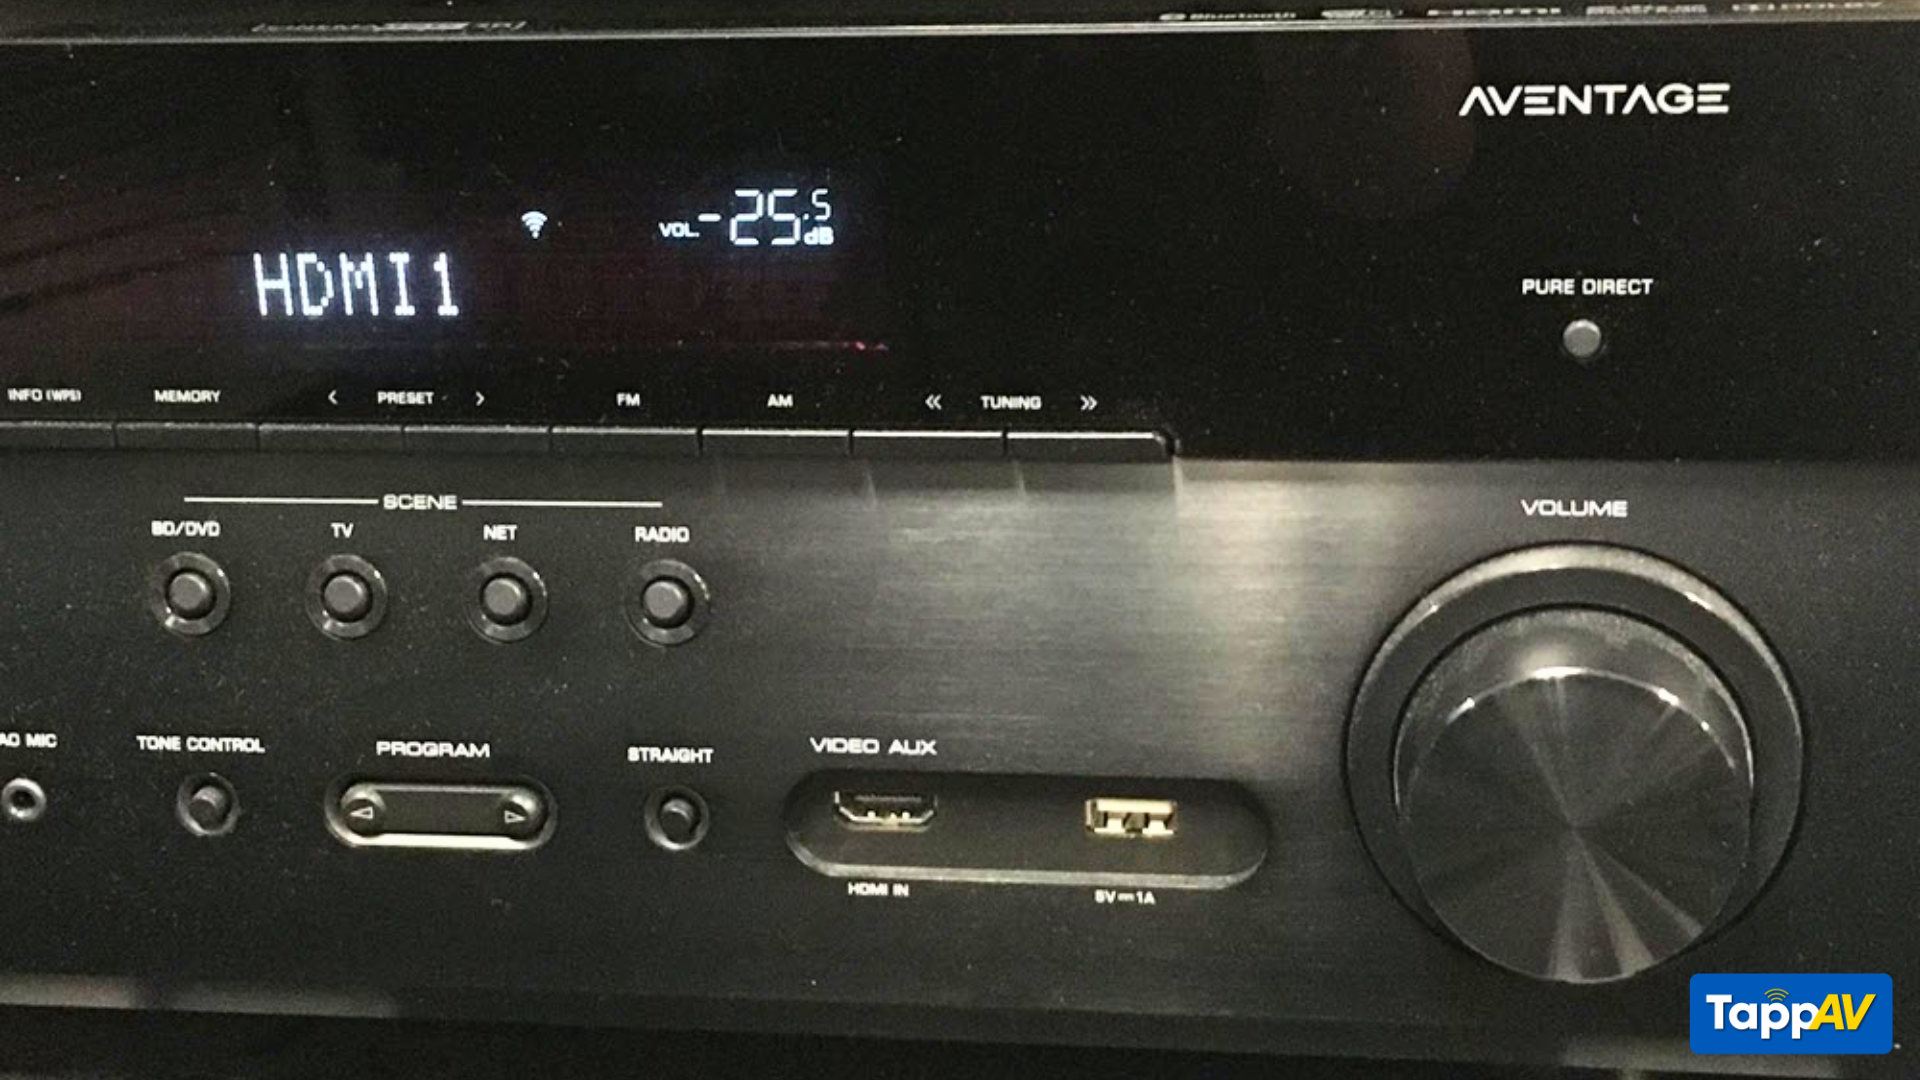
Set a Maximum Volume Limit
Prevent accidental ear-splitting audio by setting a maximum volume level on the AV Receiver. It’s especially helpful if you have kids (or enthusiastic movie marathoners) at home.

Rename Inputs
Instead of guessing which “HDMI 3” connects to your streaming box, rename it to something recognizable like “Firestick” or “PS5.”
Step 5: Test the System
Once everything is connected, run a simple audio and video test:
• Play Demo Clips to check speaker performance.
• Use test patterns or calibration discs to confirm the display’s color accuracy and sharpness
Why Download Our Free AVR Setup eBook?
If you’ve found these tips helpful, our FREE AVR Setup eBook takes things even further. It includes:
• Advanced calibration techniques.
• Common troubleshooting solutions.
• Pro tips for getting the most out of your AVR system.
Still have questions or need professional advice? Explore our AV design services at TappAV. Let’s make your setup as seamless and enjoyable as the movies you’ll watch!